Coffee

8196 readers
1 users here now

☕ - The hot beverage that powers the world!

Coffee gadgets - It's always great to learn about new gadgets. Please share your favorite hardware or full setups. It might inspire newcomers to experiment!

Local businesses - Please promote your local businesses. If you are not the owner of the business you are promoting, kindly ask the owner if it's okay. It would be great if the business has a physical store to include an exterior or interior shot.

founded 1 year ago
MODERATORS
1


What's your opinion about adding chicory to coffee? I know there's a few places, like Café du Monde in New Orleans that offers coffee with chicory. It's also sold as a mix in grocery stores in France.

I started trying it recently by adding a small teaspoon to my coffee in my French press and it gives a really smooth brew.

What do you think? Are you a purist? Have you tried it? What's your opinion?

2


Hi all,

I've got an uncoated aluminum boiler to replace the flaking one in my Gaggia Classic Pro Evo. Given that aluminum boiler coupled with the brass group head will cause galvanic corrosion, what are my options?

I know I can wait for companies to get chrome plated group heads in stock, but I hear the new (since April) GCP Evos are using the brass group head and the uncoated boiler. How are they pulling that off?

Thanks.

3


Some time ago I commented that one of my favorite ways to brew coffee is on a moka pot which I then aeropress to clean out the particulates. Many responded that they just put an aeropress filter on the moka pot for the same results. So, I tried it. The resulting brew is VERY different and, to me, not good at all.

It seems that the aeropress filter in the moka pot is removeding the brew by requiring more pressure to boil over. The result is a bitter brew that loses any subtlety in flavor.

If you are someone that uses the "filter in pot" method, please try brewing the cup unfiltered and then pressing it. Let me know what you think.

4


Facepalm

5


Personally, I like:

Turkish coffee, I received a cezve as a gift, Lots of crema (they don't call it that, but it's very frothy).

Coffee soda. Double shot espresso in a glass of ice, add soda water to taste. Great when it's hot out.

Coffee milk. Same double shot in a glass of milk, with lots of sugar. Reminds me of my childhood. The official state drink of Rhode Island.

6


Anybody brew at work? If so, what's your setup/process? I'm fortunate enough to have free access to a shared automatic espresso machine (beans not pods) so the drive to do this is not super strong. I wrote about my experience with the pipamoka device for travel, and I'm thinking it might make for a pretty simple at work option rather than sitting in my cabinet when I'm not on the road. Often the mediocre espresso has me longing for something better even if it means using my own stash.

7


For many people, the aroma of freshly brewed coffee is the start of a great day. But caffeine can cause headaches and jitters in others. That's why many people reach for a decaffeinated cup instead. I'm a chemistry professor who has taught lectures on why chemicals dissolve in some liquids but not in others. The processes of decaffeination offer great real-life examples of these chemistry concepts. Even the best decaffeination method, however, does not remove all of the caffeine -- about 7 milligrams of caffeine usually remain in an 8-ounce cup. Producers decaffeinating their coffee want to remove the caffeine while retaining all -- or at least most -- of the other chemical aroma and flavor compounds.

Decaffeination has a rich history, and now almost all coffee producers use one of three common methods. All these methods, which are also used to make decaffeinated tea, start with green, or unroasted, coffee beans that have been premoistened. Using roasted coffee beans would result in a coffee with a very different aroma and taste because the decaffeination steps would remove some flavor and odor compounds produced during roasting. Here's a summary of each method discussed by Dr. Crowder:

  • The Carbon Dioxide Method: Developed in the early 1970s, the carbon dioxide method uses high-pressure CO2 to extract caffeine from moistened coffee beans, resulting in coffee that retains most of its flavor. The caffeine-laden CO2 is then filtered out using water or activated carbon, removing 96% to 98% of the caffeine with minimal CO2 residue.

  • The Swiss Water Process: First used commercially in the early 1980s, the Swiss water method uses hot water and activated charcoal filters to decaffeinate coffee, preserving most of its natural flavor. This chemical-free approach removes 94% to 96% of the caffeine by soaking the beans repeatedly until the desired caffeine level is achieved.

  • Solvent-Based Methods: Originating in the early 1900s, solvent-based methods use organic solvents like ethyl acetate and methylene chloride to extract caffeine from green coffee beans. These methods remove 96% to 97% of the caffeine through either direct soaking in solvent or indirect treatment of water containing caffeine, followed by steaming and roasting to ensure safety and flavor retention.

"It's chemically impossible to dissolve out only the caffeine without also dissolving out other chemical compounds in the beans, so decaffeination inevitably removes some other compounds that contribute to the aroma and flavor of your cup of coffee," writes Dr. Crowder in closing. "But some techniques, like the Swiss water process and the indirect solvent method, have steps that may reintroduce some of these extracted compounds. These approaches probably can't return all the extra compounds back to the beans, but they may add some of the flavor compounds back."

8


Trying out their blend and just opened my first bag. It's their 295 mix. I like it, lite and easy to drink It tastes like coffee. Did an aeropress brew and will try V60 next time. I will say the beans gave off an interesting smell that made me nervous about how it would come out, but all is good.

I never heard of this place, but it was recommended in another post. I'll likely keep the subscription, at least for another few bags to see how it goes.

9
18
Water TDS (lemmy.today)
submitted 1 month ago* (last edited 1 month ago) by randomperson@lemmy.today to c/coffee@lemmy.world


For the longest time I've wondered why my coffee tends to run either bitter or too watery. I even bought a fancy 64mm flat burr grinder, and noticed the problem became even more pronounced.

Everyone always says how important water is, and I figured my reverse osmosis water with an alkaline stage was probably fine, coming out of the tap at around 50 PPM. It turns out the ideal TDS is actually around 150. My water's TDS was too low. More info here: https://www.raleighcoffeecompany.com/tds-and-coffee/

Using a cheap TDS meter and water alkaline drops, I got my water's TDS up to around 150 PPM by adding a couple drops into my kettle, and brewed a cup of coffee with it. It actually made a difference! Lesson learned, pay attention to your water.

10


Morning Gentlepeople.

As a coffee newbie I am having some small issues while trying to improve my game. I have a Oracle Touch and subscrube to a local monthly coffee delivery, so my beans change weekly.

My issue is that the grind setting is incredibly different from bean to bean. With my last bag, grind 14 gave a perfect 1:2,5 ratio. With a different bean today, I had to discard two cups before learning that grind size 3 gave me the same ratio. 14 gave me 1:3,5 which tasted rubbish.

The problem is that I got channeling and very little crema.

I guess the questions are: do different beans require completely different ratios or am I doing something very wrong?
Should I accept a very high ratio to avoid channeling on certain beans?
Or should my timer be lower on certain beans?

Thanks in advance for any help and have a great cup this morning!

11


Tried this for a week on the road and it's become my go-to travel brewer.

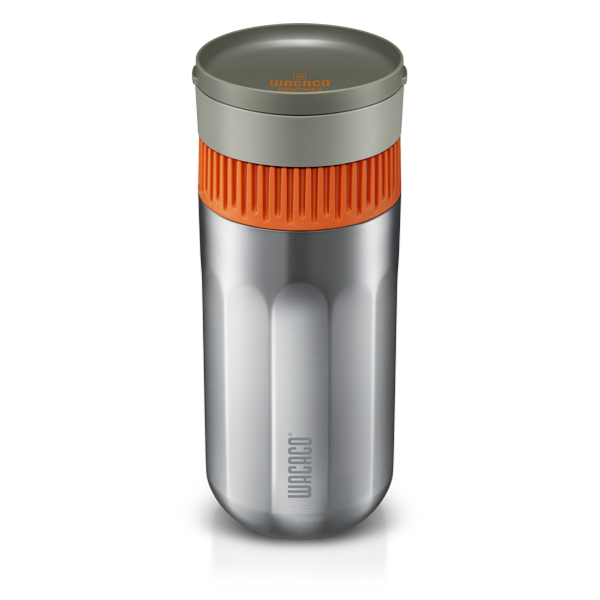
I'm a pour-over nerd and am happy to drink some mediocre cups here and there in the name of constant experimentation. Little mishaps that can occur during my delicate pour-over process get canceled out by the home runs. However, the combination of not having all my toys and tools when traveling and not always having good backup methods available if things go south has led me to the conclusion that pour-over is not the best fit for me outside my home environment. For several years I've been using an Aeropress Go when traveling. I hesitate to say anything negative about the beloved Aeropress on a coffee forum, but I was most often disappointed. People like the Aeropress for approximately the same reasons I like pour-over. It allows for the kind of fussiness to tweak and perfect brew recipes. I found differences with grind size, ratios, the amount of water used on my bypass, differences with the number or even the location of the stirs etc. etc. I've decided that I want to keep my tweaking confined to my home pour-over setup, and that I'd like all my other brewing methods to be more forgiving but with a reliably good outcome. When I heard about the pipamoka, it sounded like and attractive travel alternative. I played with it for a couple of weeks at home and then took to the road for a week with it. If you haven't heard of this thing - it's an insulated travel mug with a submersible puck with metallic filters on both sides of it. You fill the puck with medium size grounds (12-14g) and then with up to 245 mL of heated water. By slowly twisting an orange ring at the top of the cup you elevate the grounds puck up through the entirety of the water. You then remove the puck and elevator mechanism and can pour the coffee or pop the included lid on it and keep it insulated for hours. It produces a rich cup that has some real depth, and while slightly closer to the French Press side of things, I found it allows for the notes of a medium to medium light roast to shine through much brighter than FP does. It’s consistent as hell.

Here's why I love it for travel:

  • It brews a bigger cup than my Aeropress Go. No bypass is needed here and the brewer doubles as an insulated cup which I think is awesome. It also pours very neatly though too.
  • I typically brew for two but often an hour or two apart. The Aeropress meant that I either had to find an insulated vessel when traveling for the second cup or be available to brew on demand. Now I can brew and decant the first cup for myself, rinse things out, and then immediately brew another cup knowing it will stay warm in the insulated brew chamber for hours.
  • Cleanup involves rinsing or washing the cup, quick rinse of elevator mechanism, dumping out grinds from puck (not too bad), and rinsing out the filter puck. It’s minimally more involved than the aeropress go, but not really if you consider needing a cup and in my case often some sort of insulated vessel for the aeropress. Overall, it’s easy.
  • Forgiving with grind. Medium / Medium coarse works well. I didn’t tweak much, but somewhere around a 5 on Ode Gen II stock bur was perfectly good and here’s another thing – I have not been travelling with a grinder. I used the pre ground medium grind grocery store stuff on the road and IMO that stuff is far too coarse for the Aeropress, but works very well with the Pipamoka. Serious points for travel flexibility on this one. I am going to buy a portable grinder for my next trip I think though. I have arthritis and don’t love portable grinders because of that, but I’m still planning to give it a try to see if I can step the Pipamoka flavor up just a tad more.
  • Forgiving with the brew time. I started out timing my rotations to match the two minute recommended extraction time, but quickly resorted to just sitting on the couch and twisting this thing at a very steady relaxed pace (probably taking closer to 2.5min on average I would estimate). It really didn’t seem like a super-crucial variable in the brew outcome.

Things I don’t love about the Pipamoka:

  • I already mentioned my concerns about a portable grinder due to arthritis. Well, the pipamoka requires a pretty decent amount of force to rotate and you have to turn it quite a bit. It’s not terrible though, you get into a slow rhythm and if you don’t have arthritis, I doubt you’d mind at all. However, the ring that you rotate does get quite warm. I used 205F water at home, and water 30s off boil on the road. If you have sensitive skin at all, this ring does get uncomfortably warm. I didn’t like this and it seemed obvious for both better grip and heat insulation that this knob should probably have a bit better grip design and be rubberized.

  • Filling the puck with grounds is much more of a pain than it should be. There’s an extra part which is a little cuff that helps keeps your grounds from overflowing out of the puck while you scoop them in. First, I didn’t love that there was one more thing to rinse/wash/potentially lose. Most importantly though, there is yet another included part that is even easier to lose, but is quite important. There is a little brush that you need to brush grounds off the lip of the puck and push them toward the center so you can properly seal the fenestrated puck cover. If you used the recommended amount of grounds it’s really overflowing and I’m guessing this is because it’s designed so you end up with some compression packing on the grounds. It seems like perhaps a deeper puck and a little tamp would be a better solution. There has to be a less fussy way to do this. I really hope Wacaco releases a second version of this at some point that addresses this. Mehs

  • I remember not bringing enough paper filters for my Aeropress on a trip once and having to use paper towels. It wasn’t terrible actually, but I’m a fan of how paper filters crisp up coffee flavor and really like the idea of them holding back cafestol and adding one less thing to my diet that is trying to corrode my cholesterol numbers. For travel though, a good metal filter that keeps fines out really does make more sense than having to worry about your consumable stock.

TLDR: If you are a coffee control freak and really want to tweak and perfect your brew when traveling, consider the Aeropress option (Frankly, would just go with regular Aeropress – the “Go” isn’t all that much more portable and it’s too small IMO). If you want a reliable simple brew that you might not be able to achieve coffee nirvana with, but that will make a consistently good cup that stays warm, I currently think the Pipamoka takes the cake.
12


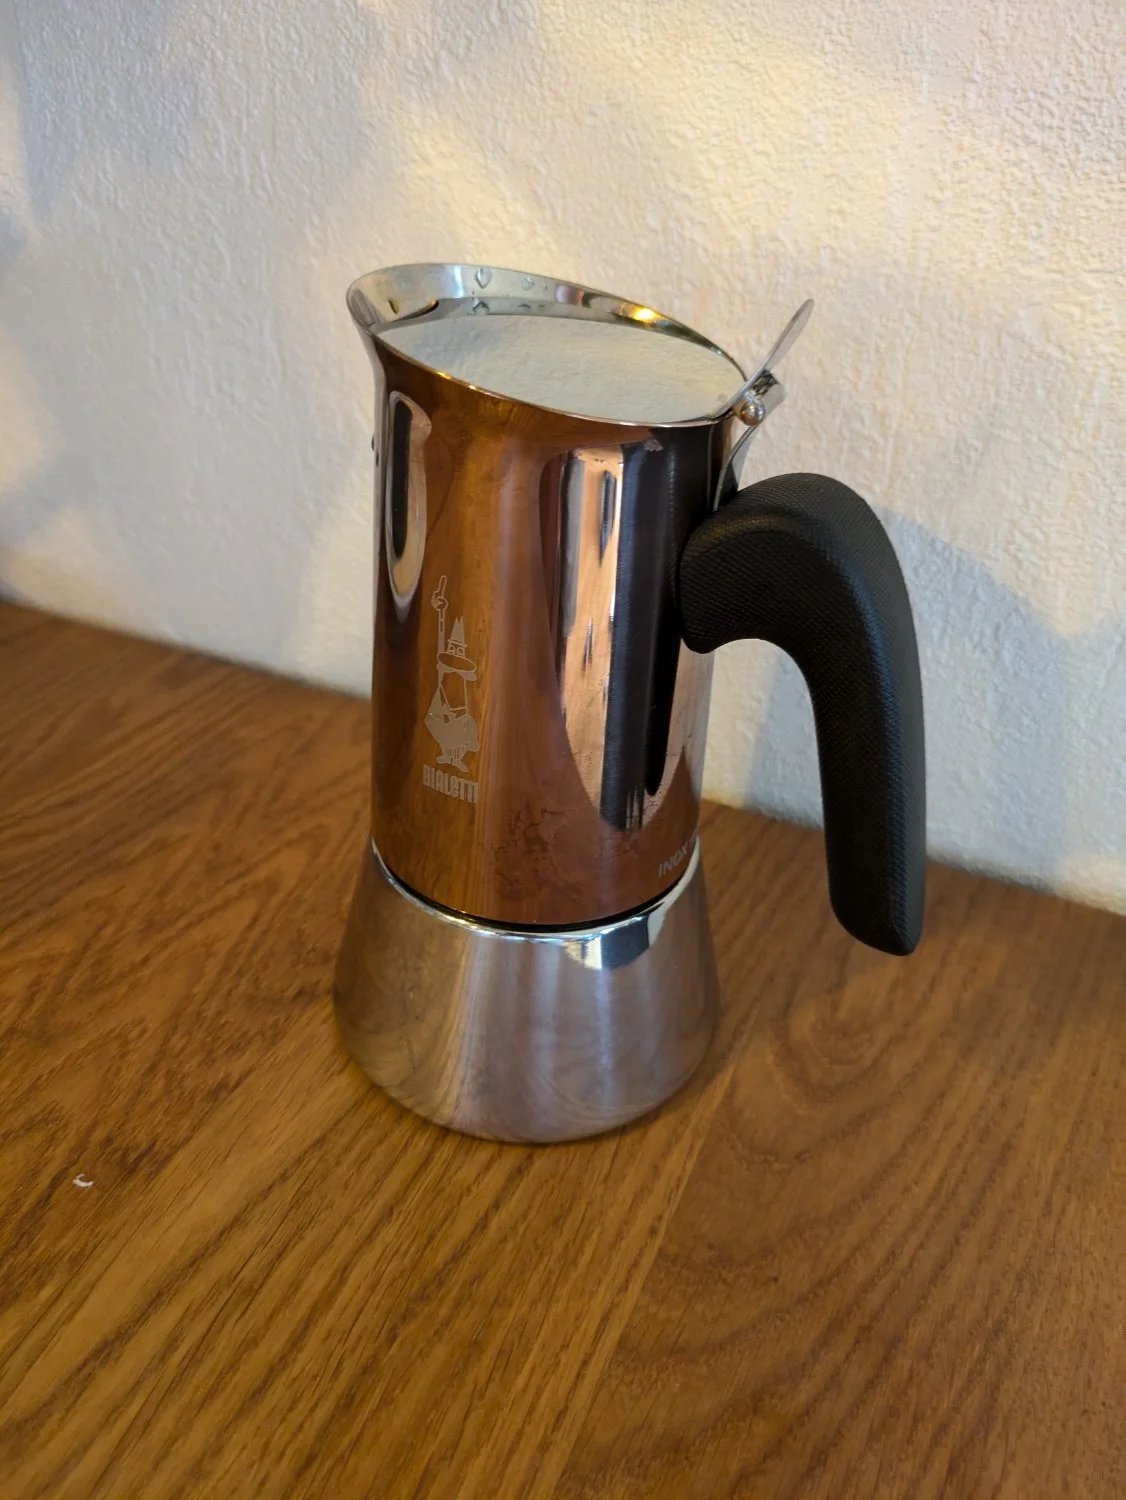
Haven't really used a mocha pot before, so I'm experimenting a little to find the right grind settings and ratios for my taste. Normally brew espresso on a flair classic. Went with this more modern design from bialetti because it also works on induction stoves.

13
14


I love coffee, but have a surplus of tea bags that I want to experiment with. Does anyone have suggestions for how to get started with tea? Or a simple recipe to use as a baseline? I'm only working with tea bags at this time, which appear to be 2g. I would also love to know how much agitation you are supposed to do with the tea bag itself.

15


After spending so much time and energy with an entry-level home coffee roaster, here are my takeways

Can it make great coffee?

Absolutely! My preference gravitates towards light roasts or lighter medium roasts. Although the Gene is not very good at light roasts, lighter medium roasts are easily achievable. The coffee you can roast at home may never be as good as what the best artisan roasters can produce, but it will always be 1000x better than commodity supermarket charcoal you can buy everywhere (and cheaper too).

Is it a good machine?

Yes and no.

  • It's easy to use because, apart from time, there is really just a single variable you can influence: maximum temperature. With a decent workflow you can produce excellent coffee, but it lacks everything people obsess about (temperature probes and Artisan integration, airflow control, power control, automation etc.) that makes a high-end home roaster much closer to a professional tool.
  • Ambient temperature (and I suspect humidity) influence it a lot, making batches hard to replicate. Target temperature and 1C can be as much as 1-1.5 minutes sooner in summer.
  • Airflow is everything, and chaff can easily block the chamber's intake, stalling the internal temperature at 220-230°C and "ruining" (control over) a batch.
  • Batch size is kinda small at 250g, so if you wanna roast larger quantities, you must do several small batches in a row. I usually roast 4x250g batches in a single session, and it lasts me about a month.

Are complicated workflows necessary?

No. My personal workflow is much simpler and basically the same for every bean after preheating the machine at 220°C for about 10mins:

  • Dry at 180°C for 3 minutes
  • Increase temperature to 135-145°C depending on the bean, it should get there around the 7min mark. Hold until 1C.
  • Once 1C starts rolling (depending on the bean, around 8-11min mark), reduce temp to 220°C and dump after 1 minute (I built an external cooler that adapts to my vacuum cleaner, do not use the built-in cooling function, it sucks)

Is it worth it?

If your local roasters suck, all you can access is supermarket coffee or your local or online roasters are prohibitively expensive (don't forget to still support great local businesses once in a while), if you've got time and love to experiment, if you love DIY, go for it!

16
17
18


I make aeropress at home, been my go-to for years. My taste in beans never really left the 90s though I do enjoy a fruity brew once in a while.

I know where the best dry cortado w/ oat-milk is in the Minneapolis - St Paul area.

A soft spot for a not-too-sweet miel.

Help me plan my "can't regret not doing that" coffee list?

Edit to answer some similar questions all at once: I'm not going to talk about my medical situation here, but yes, it was at the advice of a doctor. Decaf is a possibility, but I e been down that road before and it tastes like disappointment, even with today's improvements; maybe once in a while, though.

19
96
Beaks (mander.xyz)
submitted 1 month ago by avidamoeba@lemmy.ca to c/coffee@lemmy.world
 
 
20
 
 
21


Pour over guy here but I enjoy just a touch of oils in my extractions so I've settled on coffee sock use. Never liked the French Press side of things, but I've just learned about FP with paper filters, the Espro paper filter and more interestingly the Caffi bag filter. I'd like to experiment with this. The Caffi filter especially is appealing as the cleanup looks super easy (big change compared to my coffee sock ritual) and I like the idea of cleaning up the murky FP taste with some decent filtering. I'm considering trying an Espro device so I would have the option to try their paper filter too, but that's less interesting since you still have to clean grounds out of your FP bucket. The Espro devices are pricey though. I'm curious if anyone thinks the finer mesh buckets on the Espro would contribute any cleanup benefit at all if using a paper filter like the Caffi bag? I would assume the much finer filter mechanism of the paper would just trump any plunger filter mechanism. Ok, my next question is what's going on with insulated FP brewers? Stanley, Yeti, even Espro (they even make a travel mug FP that you just leave the grounds in!!) and many others make these. I don't mean to be rude, but are FP drinkers just barbarians that think there is no such thing as over-extraction? How in the world can you just leave coffee grounds sitting in contact with your brew for hours as these insulated FP brewers claim? Don't you need to decant as soon as the brew is complete?

22


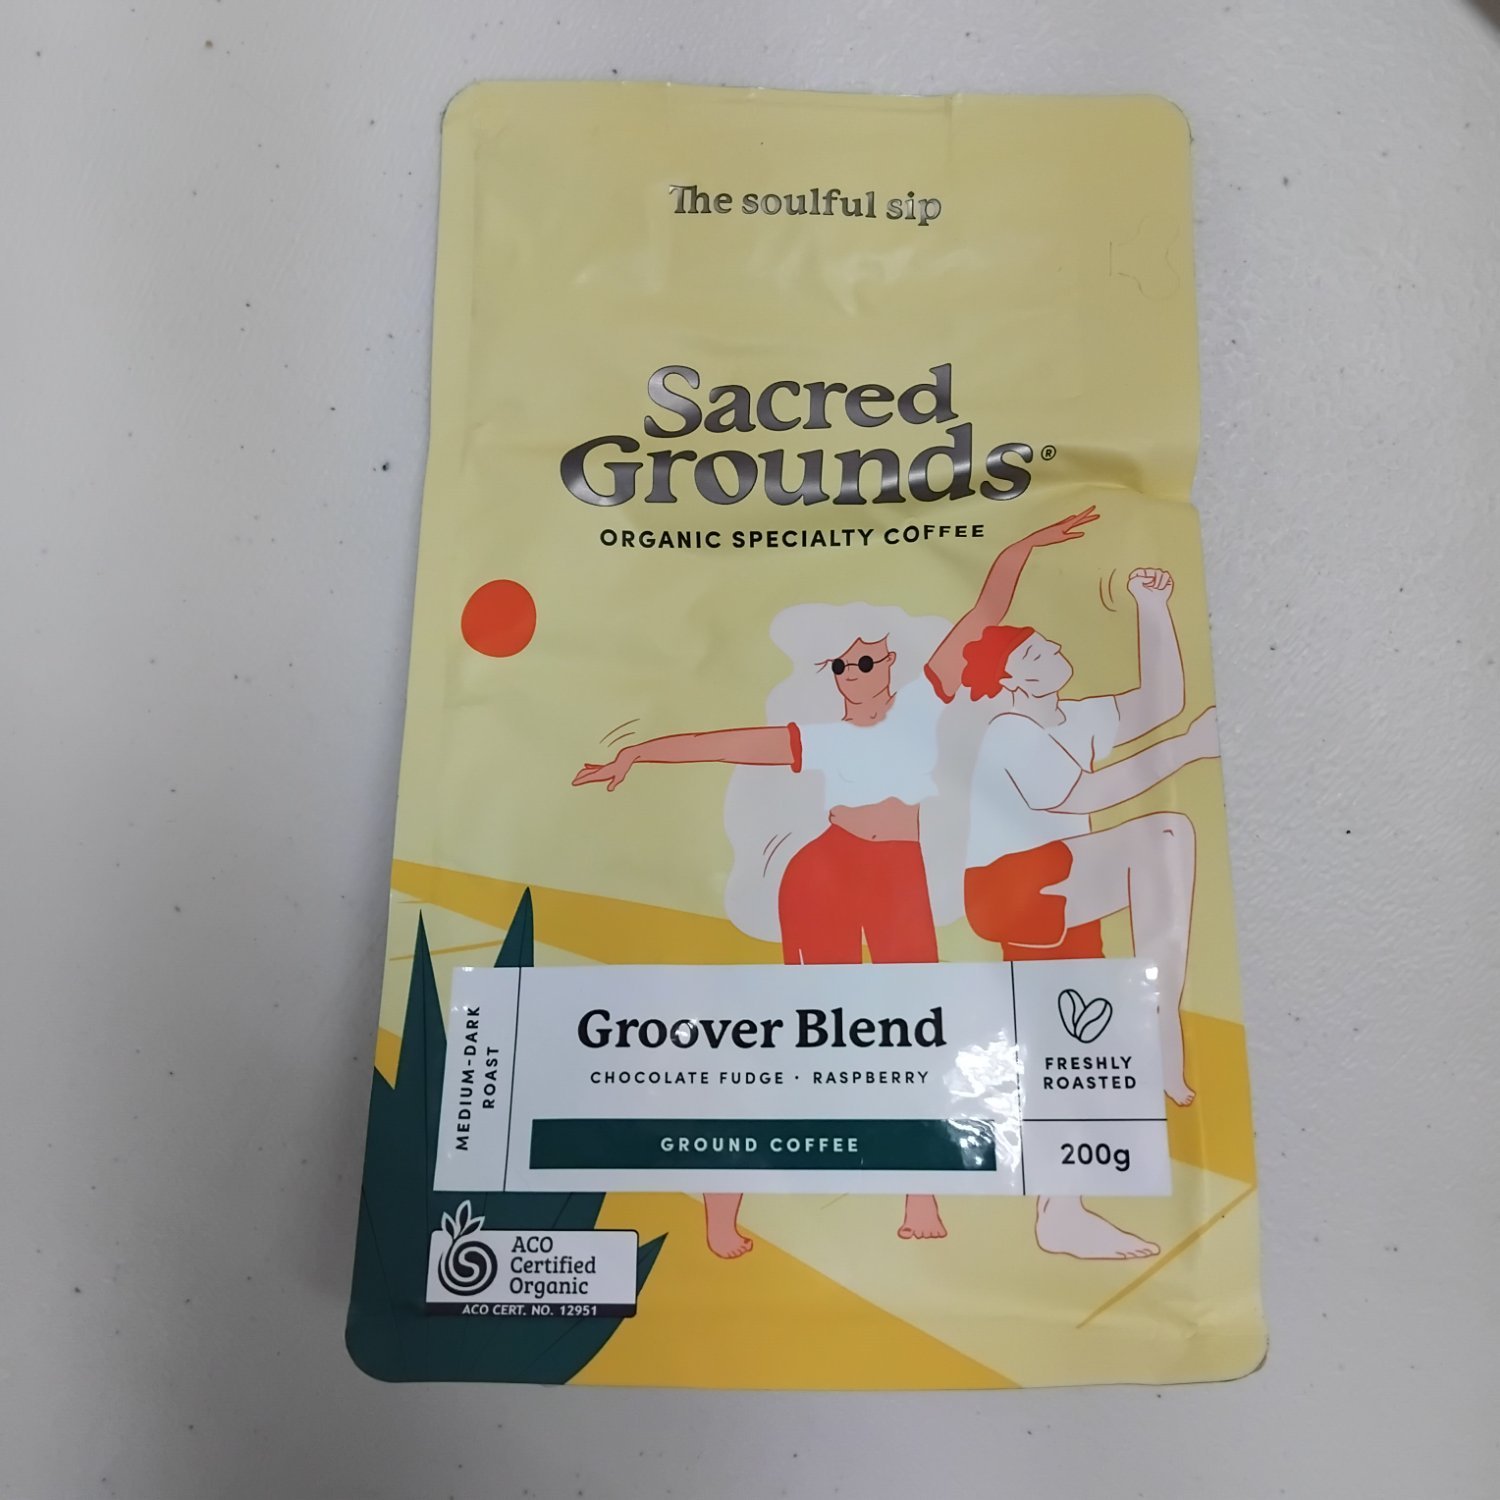
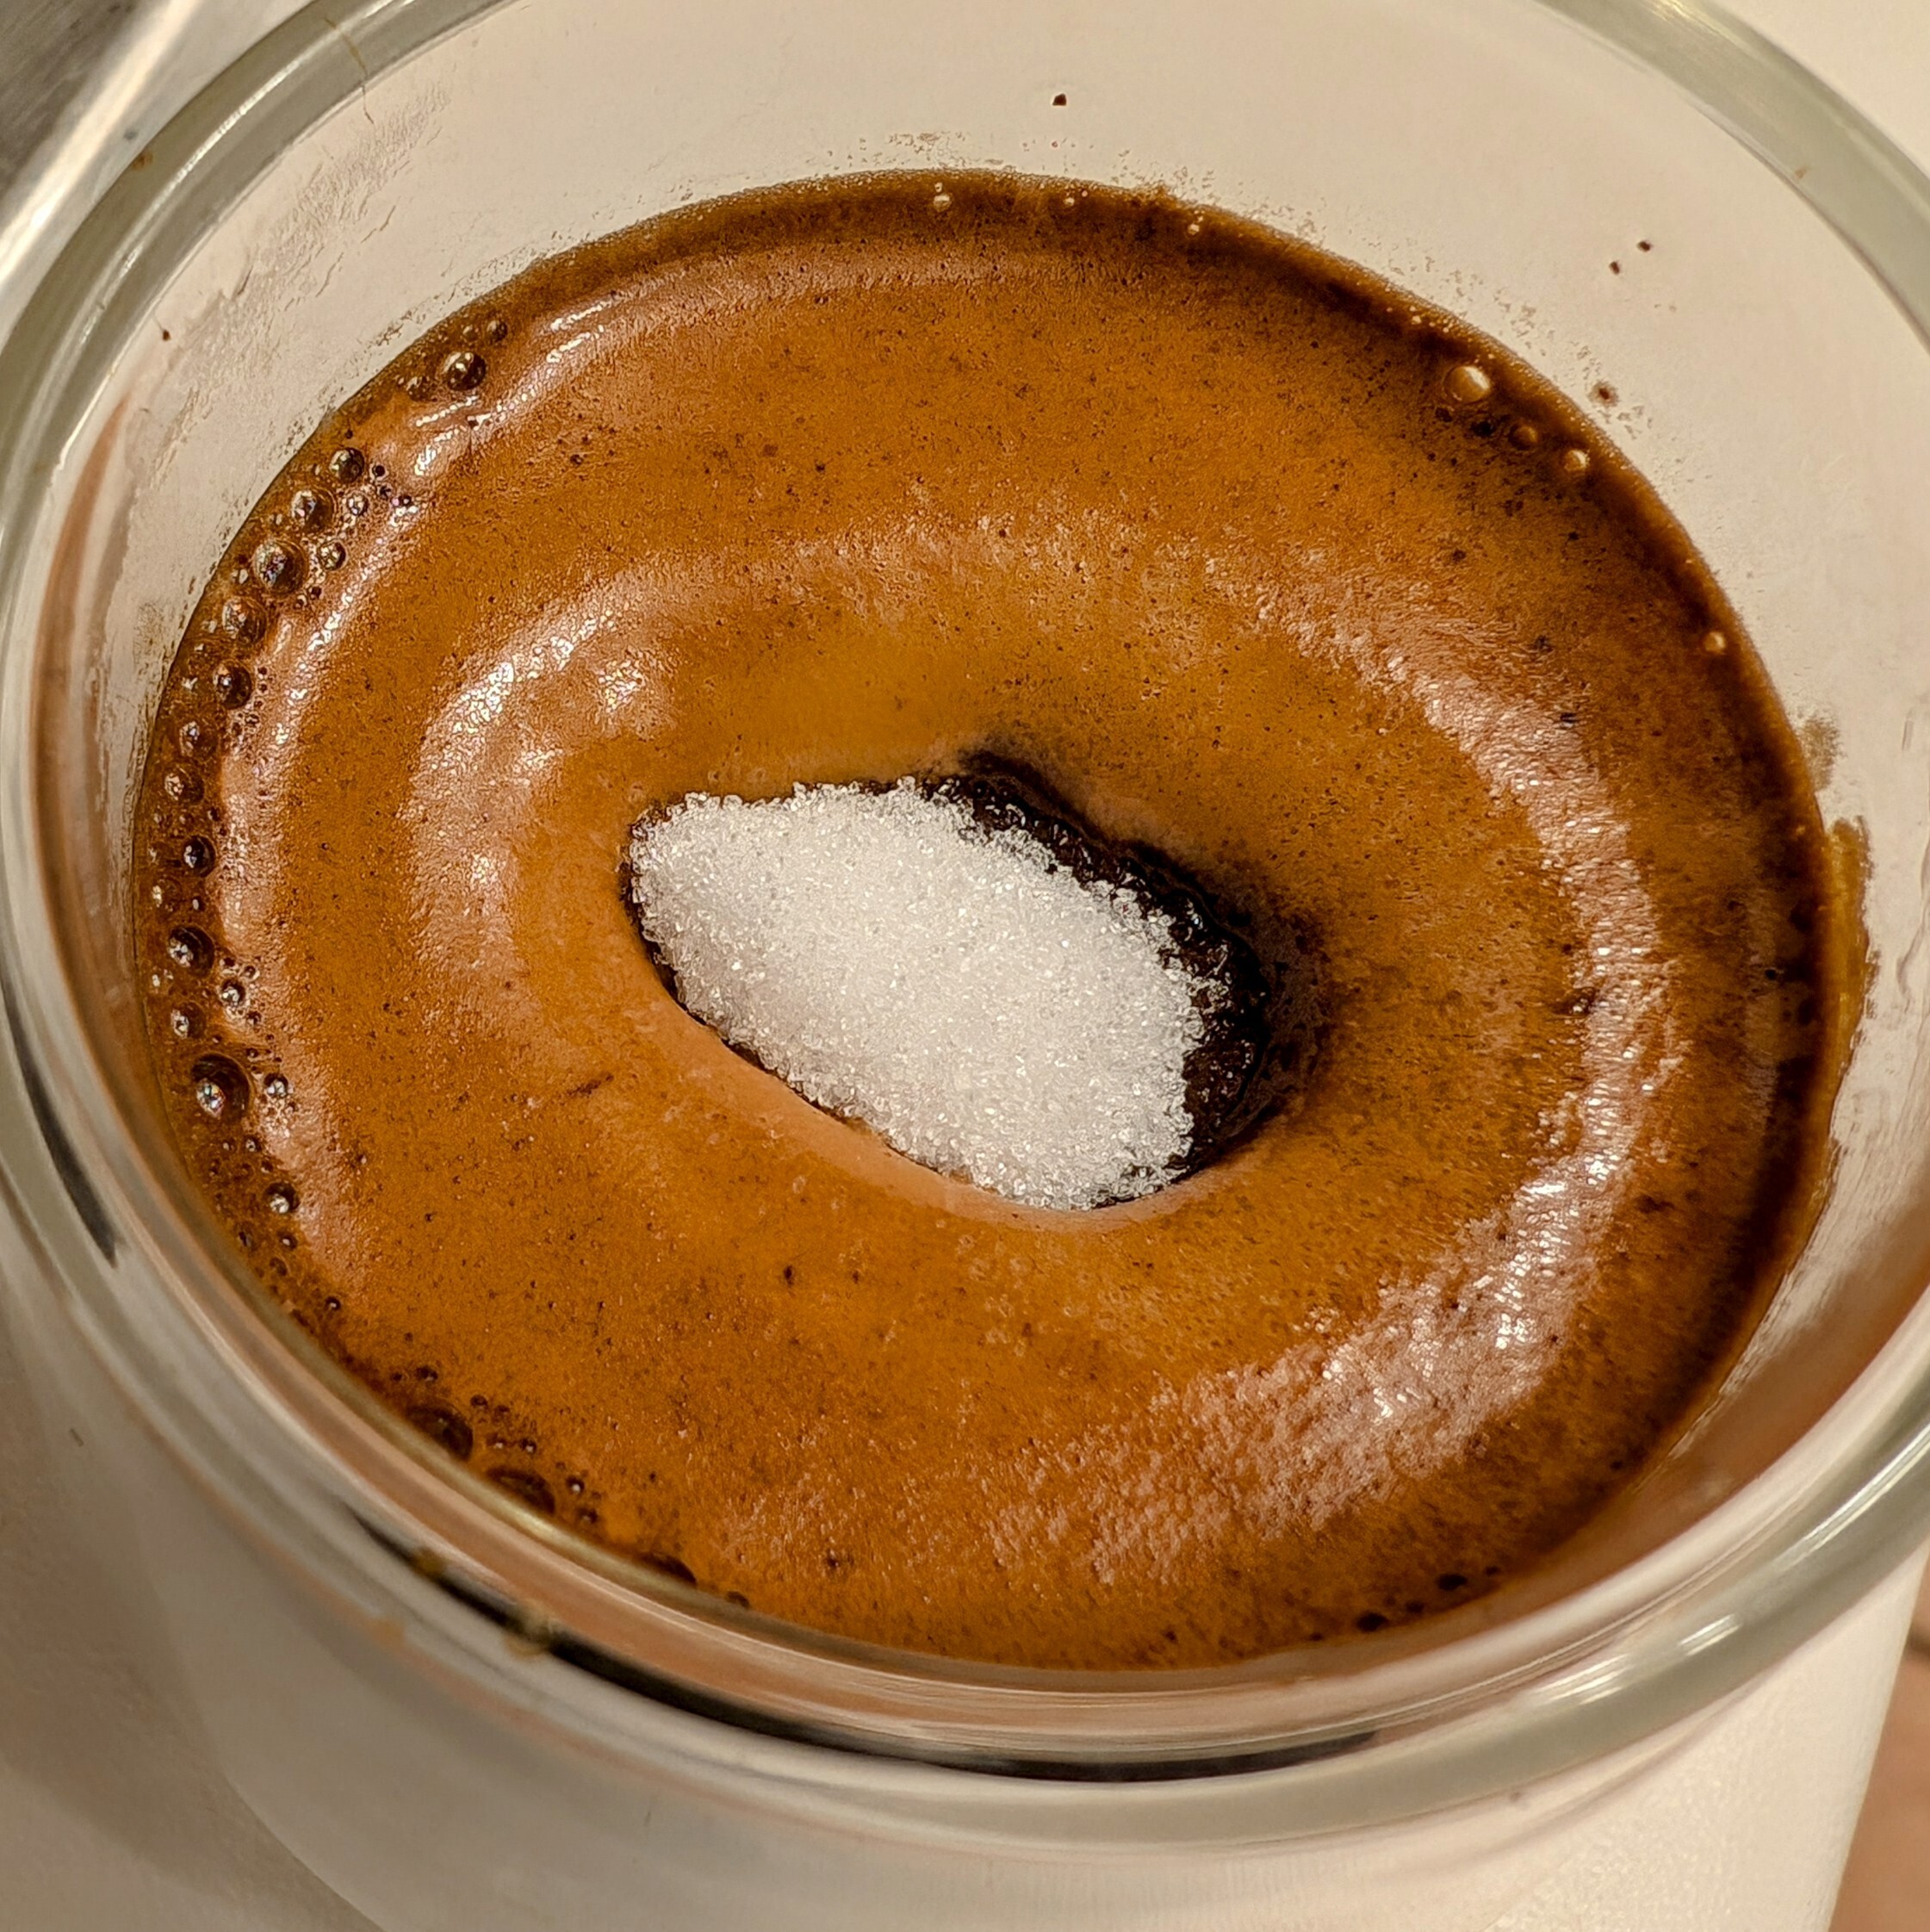
Smoothest brew I've had in a while, no hint of sourness or bitterness.

23
 
 
24


Nothing fancy, just the raw essential on a rushed morning.

25


Hello out there, fellow caffeinated Lemmings!

Got anything new in your brew?

Did you make a mess-o of your espresso?

Did you French pull instead of French press?

Tell us about it for those valuable Internet points!

view more: next ›