Elbow deep in other more important projects, but I managed to fit in some time to push this OM cutaway a little closer to completion.

Adirondack top (maybe a little floppy…) and bubinga body (assuming it behaves going into the mold…).
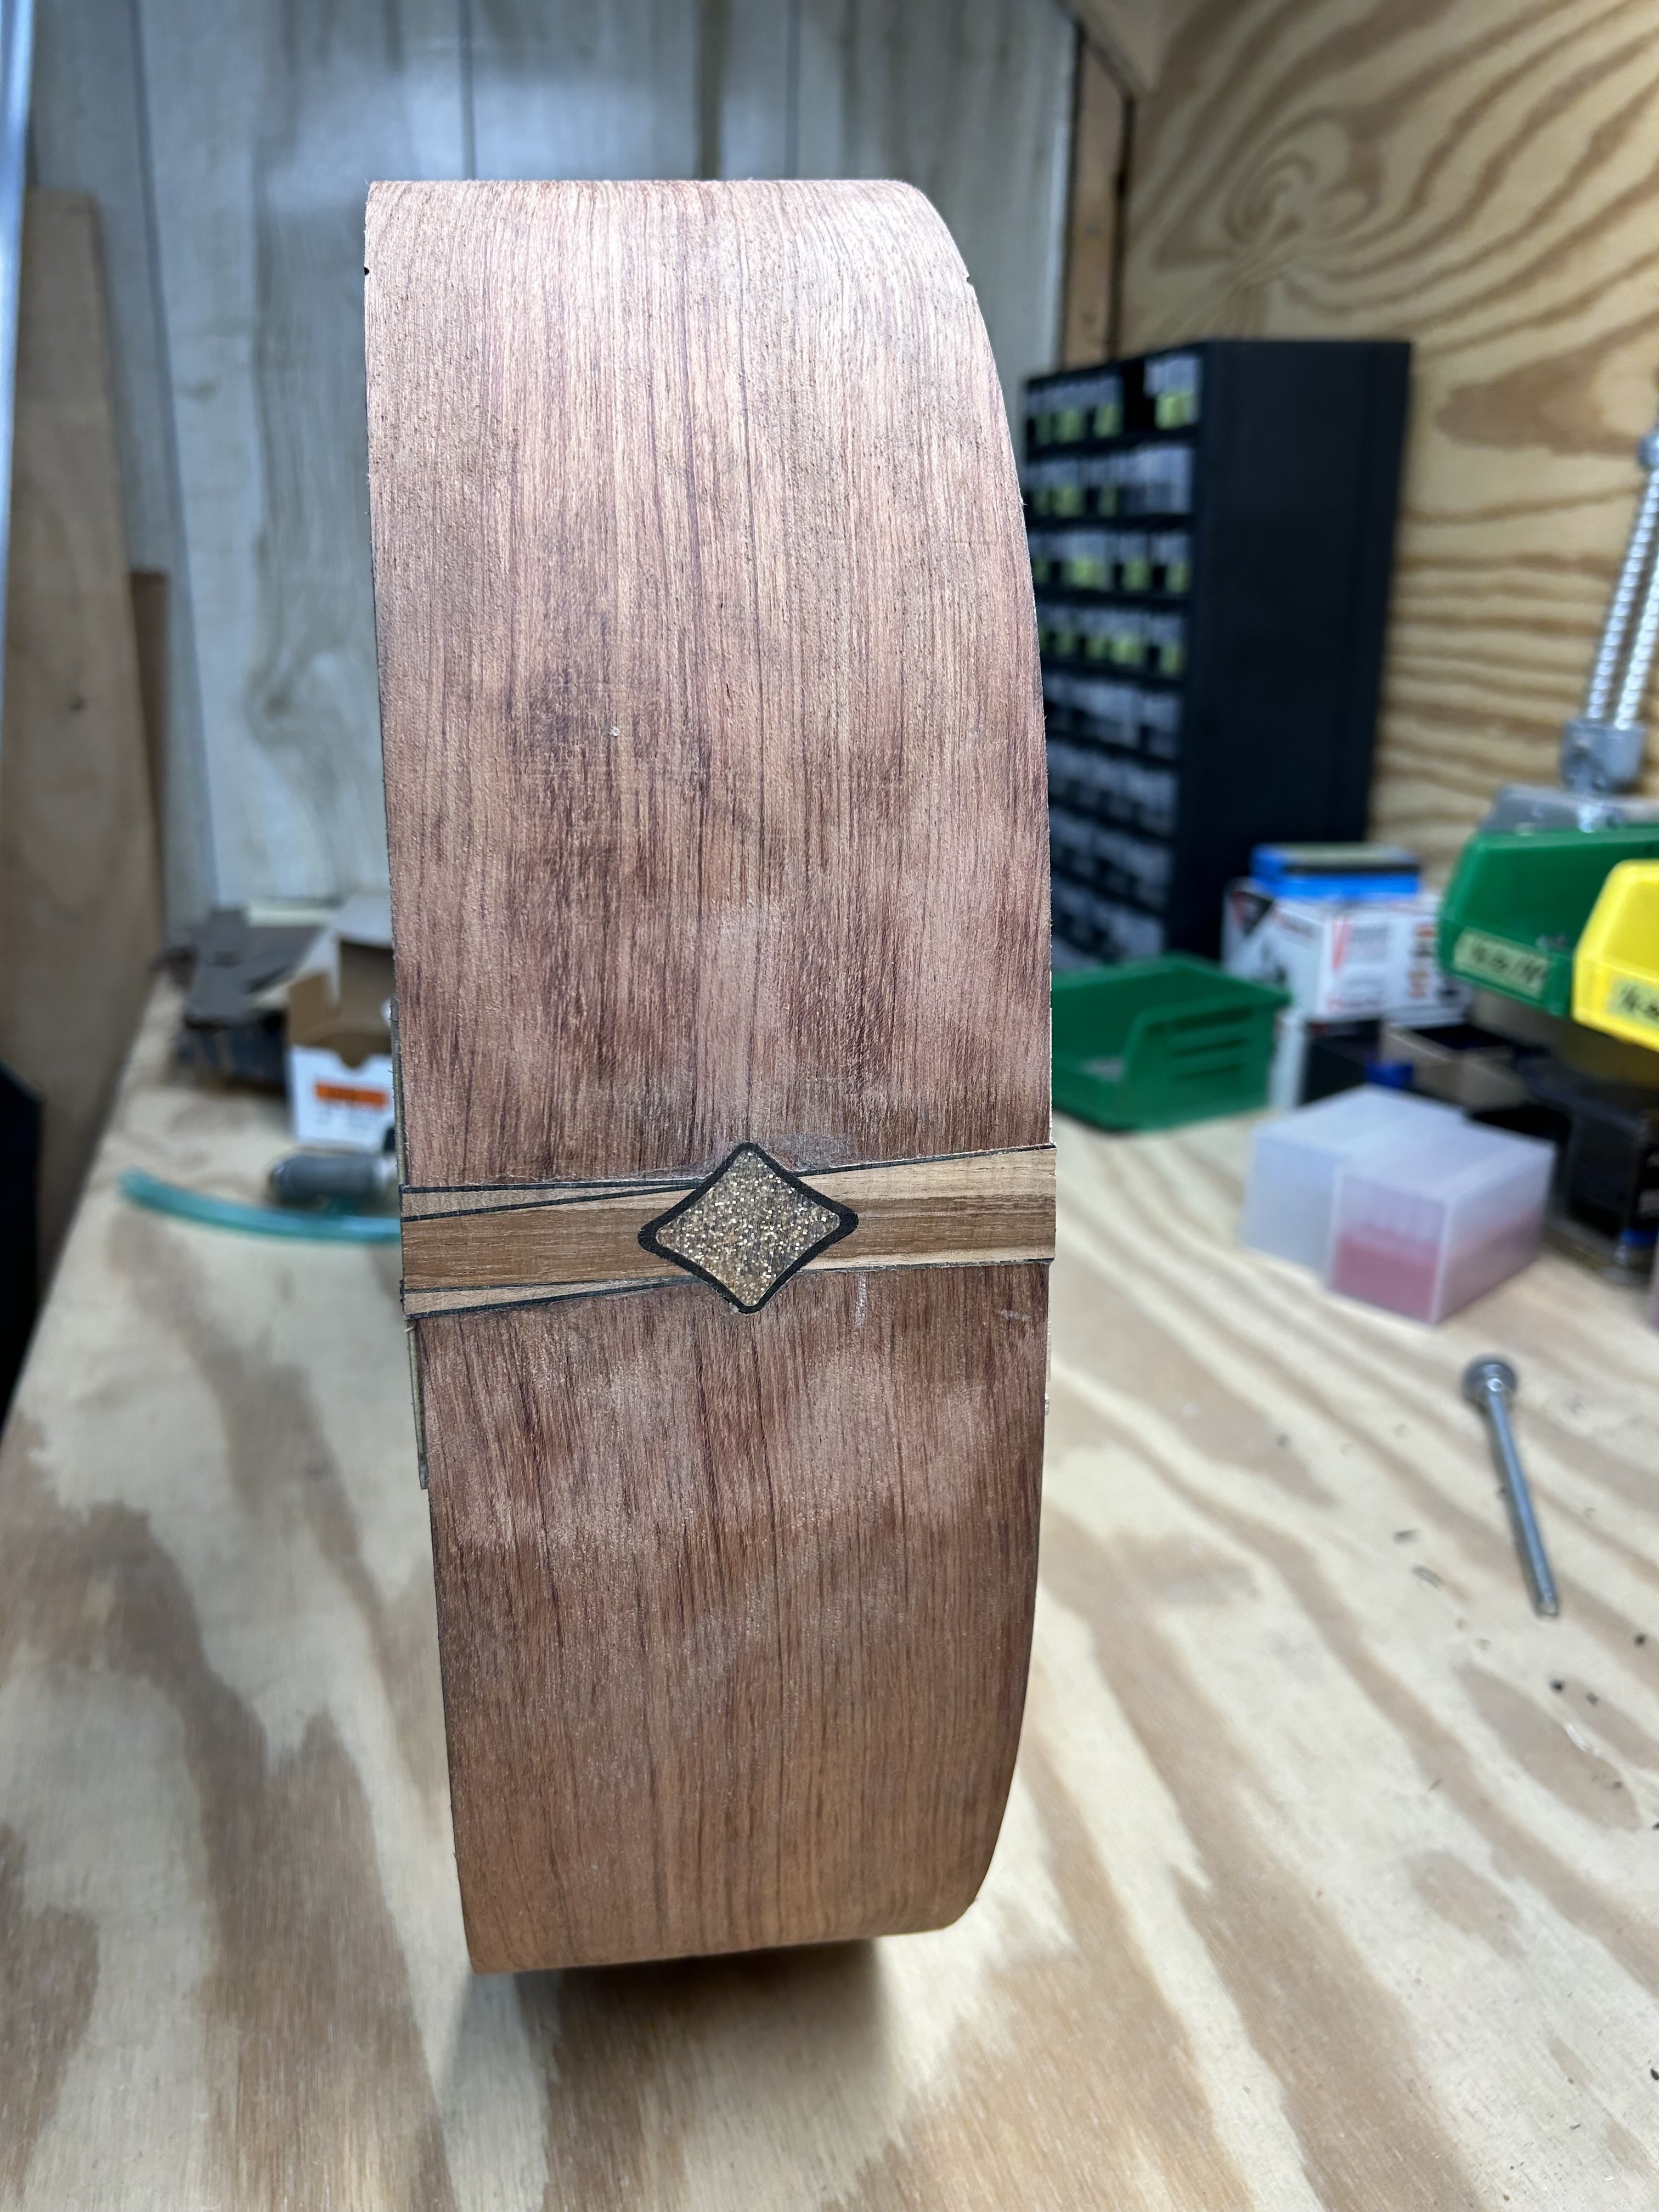
I’ve been jokingly calling the buttwedge design the Double Black Diamond (DBD for short). Koa with ebony and glitter bullshit. Figuring out how to safely route the pocket was a fun puzzle that was definitely OVER ENGINEERED. Very pleased with the results though.
Taking suggestions for inlay designs for both the head stock and fingerboard. They’ll both likely be ebony or some other dark hardwood depending on what I can scrounge up. I have plenty of shell, stone, etc. for color and/or detail and a machine that can cut them a hell of a lot cleaner than I can.
This particular guitar is a giveaway item for a bunch of beer drinking craftsmen, so really almost anything goes.
More builds to come soon.
Keep luth’n!

Im currently drafting a kind-of-guitar myself. Maybe I can learn from you! Do you have a jig for glueing the two halves of a top together? And do you vary the thickness of the top (e.g. make it thinner on the treble side) or is it all uniform thickness and you dial in the tone with the bracing?
Cool to hear that you’re dipping your toe.
The top plates can get glued up a handful of ways, but the basic premise is even crosswise clamping pressure and downward holding pressure. Most important part of the operation is the glue joint.
Simple jigging would be to clamp one half flat to a work board (with cauls obviously), dry fit other half and clamp a rigid fence (maybe a piece of ply or scrap wood) a bit behind the end of the loose half. You’ll need to prep some small wedges to use as your side ways pressure, and when you’re ready to glue, you’ll put your glue sides together and fit the wedges together pushing them past each other; see figure 1. From there you’ll probably want some hold downs to keep everything from buckling, so I recommend throwing another couple pieces of wood across your workpiece with some clamps; see figure 2.
Try to keep your top a uniform thickness. You can usually do enough tweaking with the braces to accomplish what you need soundwise. Keeping the top flat and even will help keep you from sanding a hole in an otherwise perfect piece of wood.
Pro tip: before you glue your piece, throw a strip of packing tape down underneath. As long as you’re using standard wood glue, nothing should really stick.